
If you haven’t installed Appium on your Mac yet, I recommend starting with my previous guide:
In this article, we’ll continue the setup by configuring the Android environment required to run mobile automation tests.
Install Android Studio and Required SDK Components
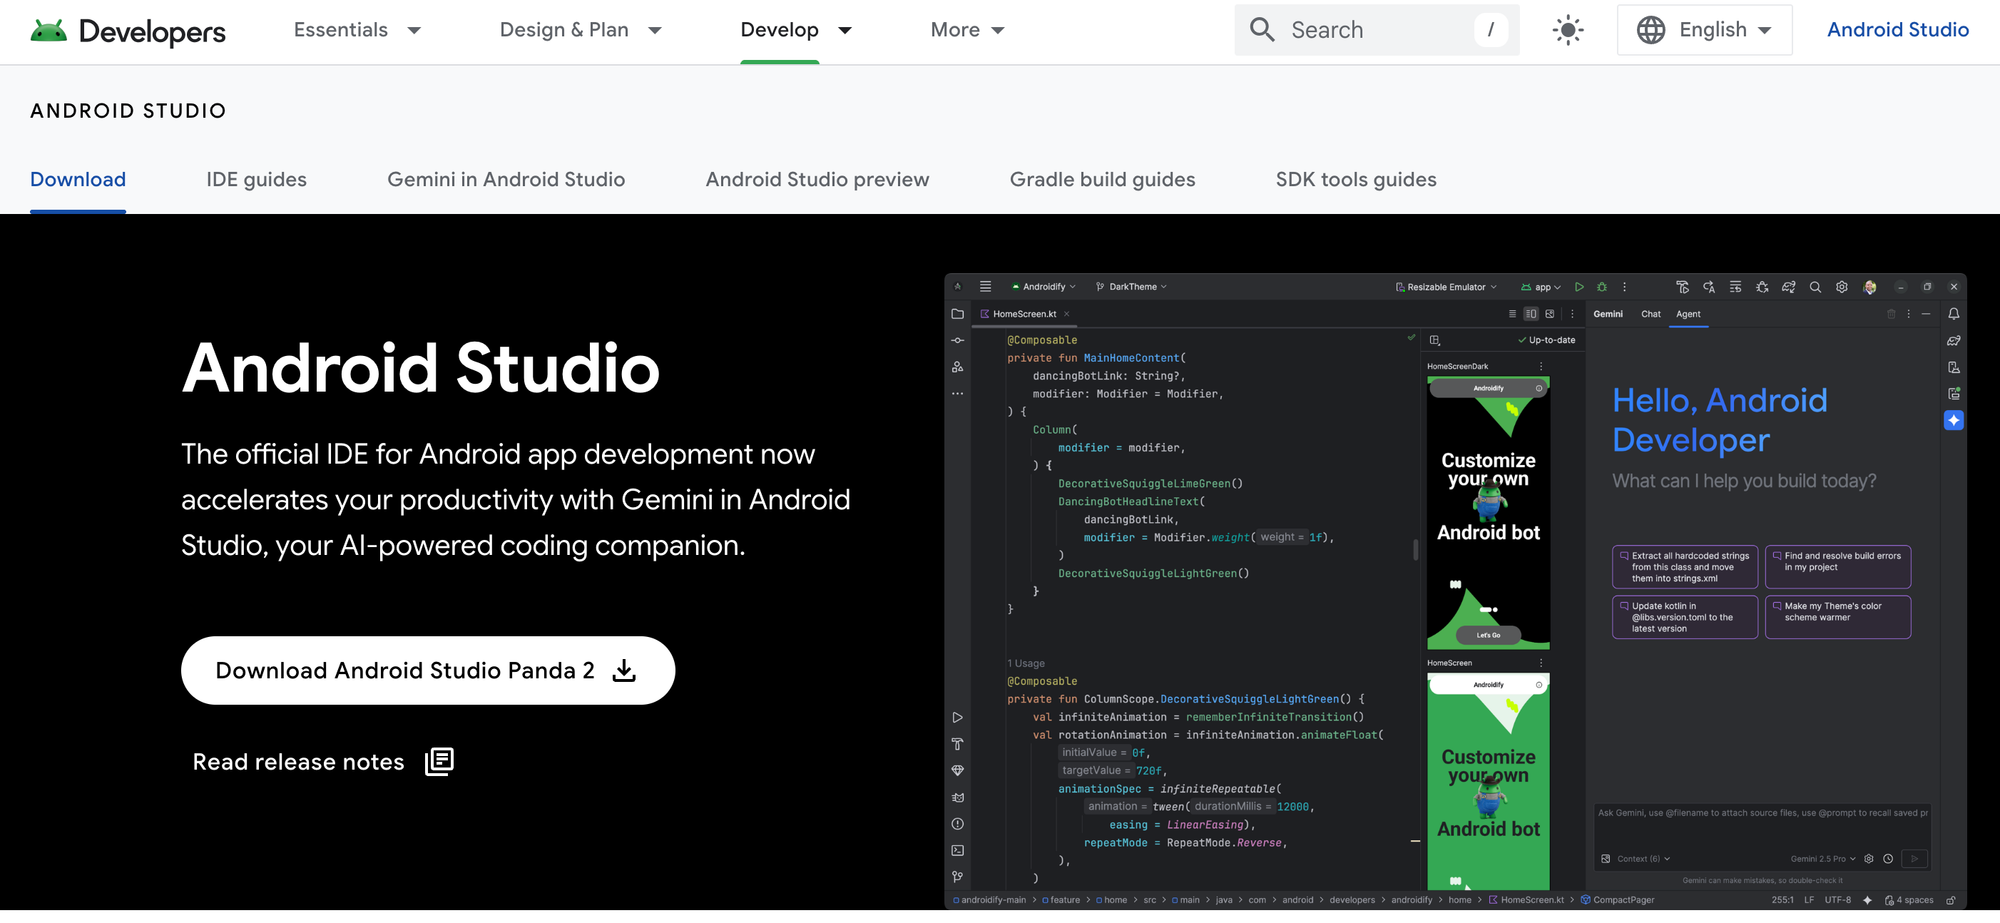
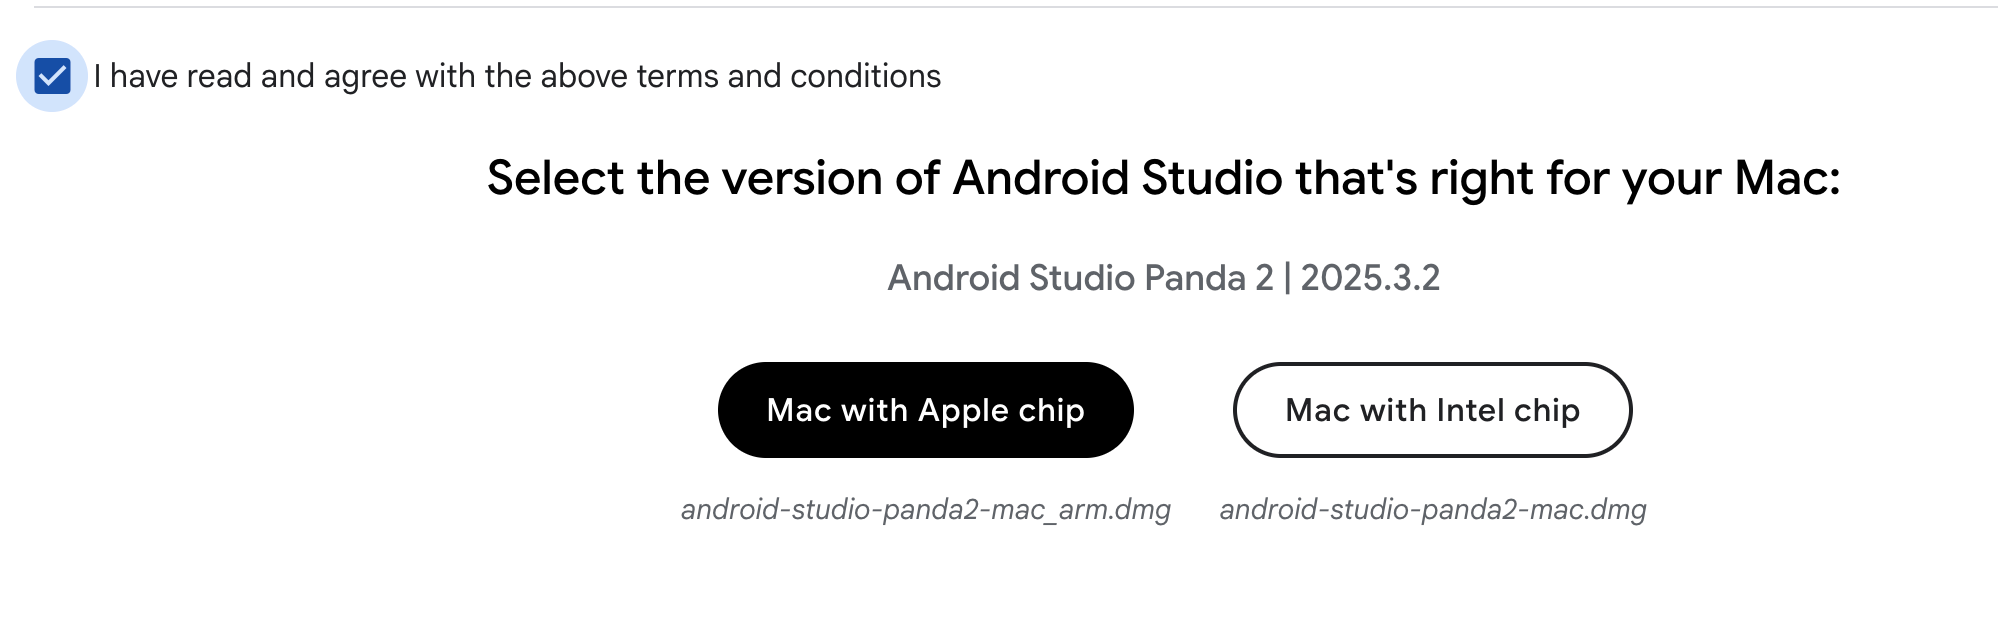
Download and install Android Studio from the official Android developer website: https://developer.android.com/studio
After installing Android Studio, you need to make sure that the required Android SDK components are installed for Appium testing.
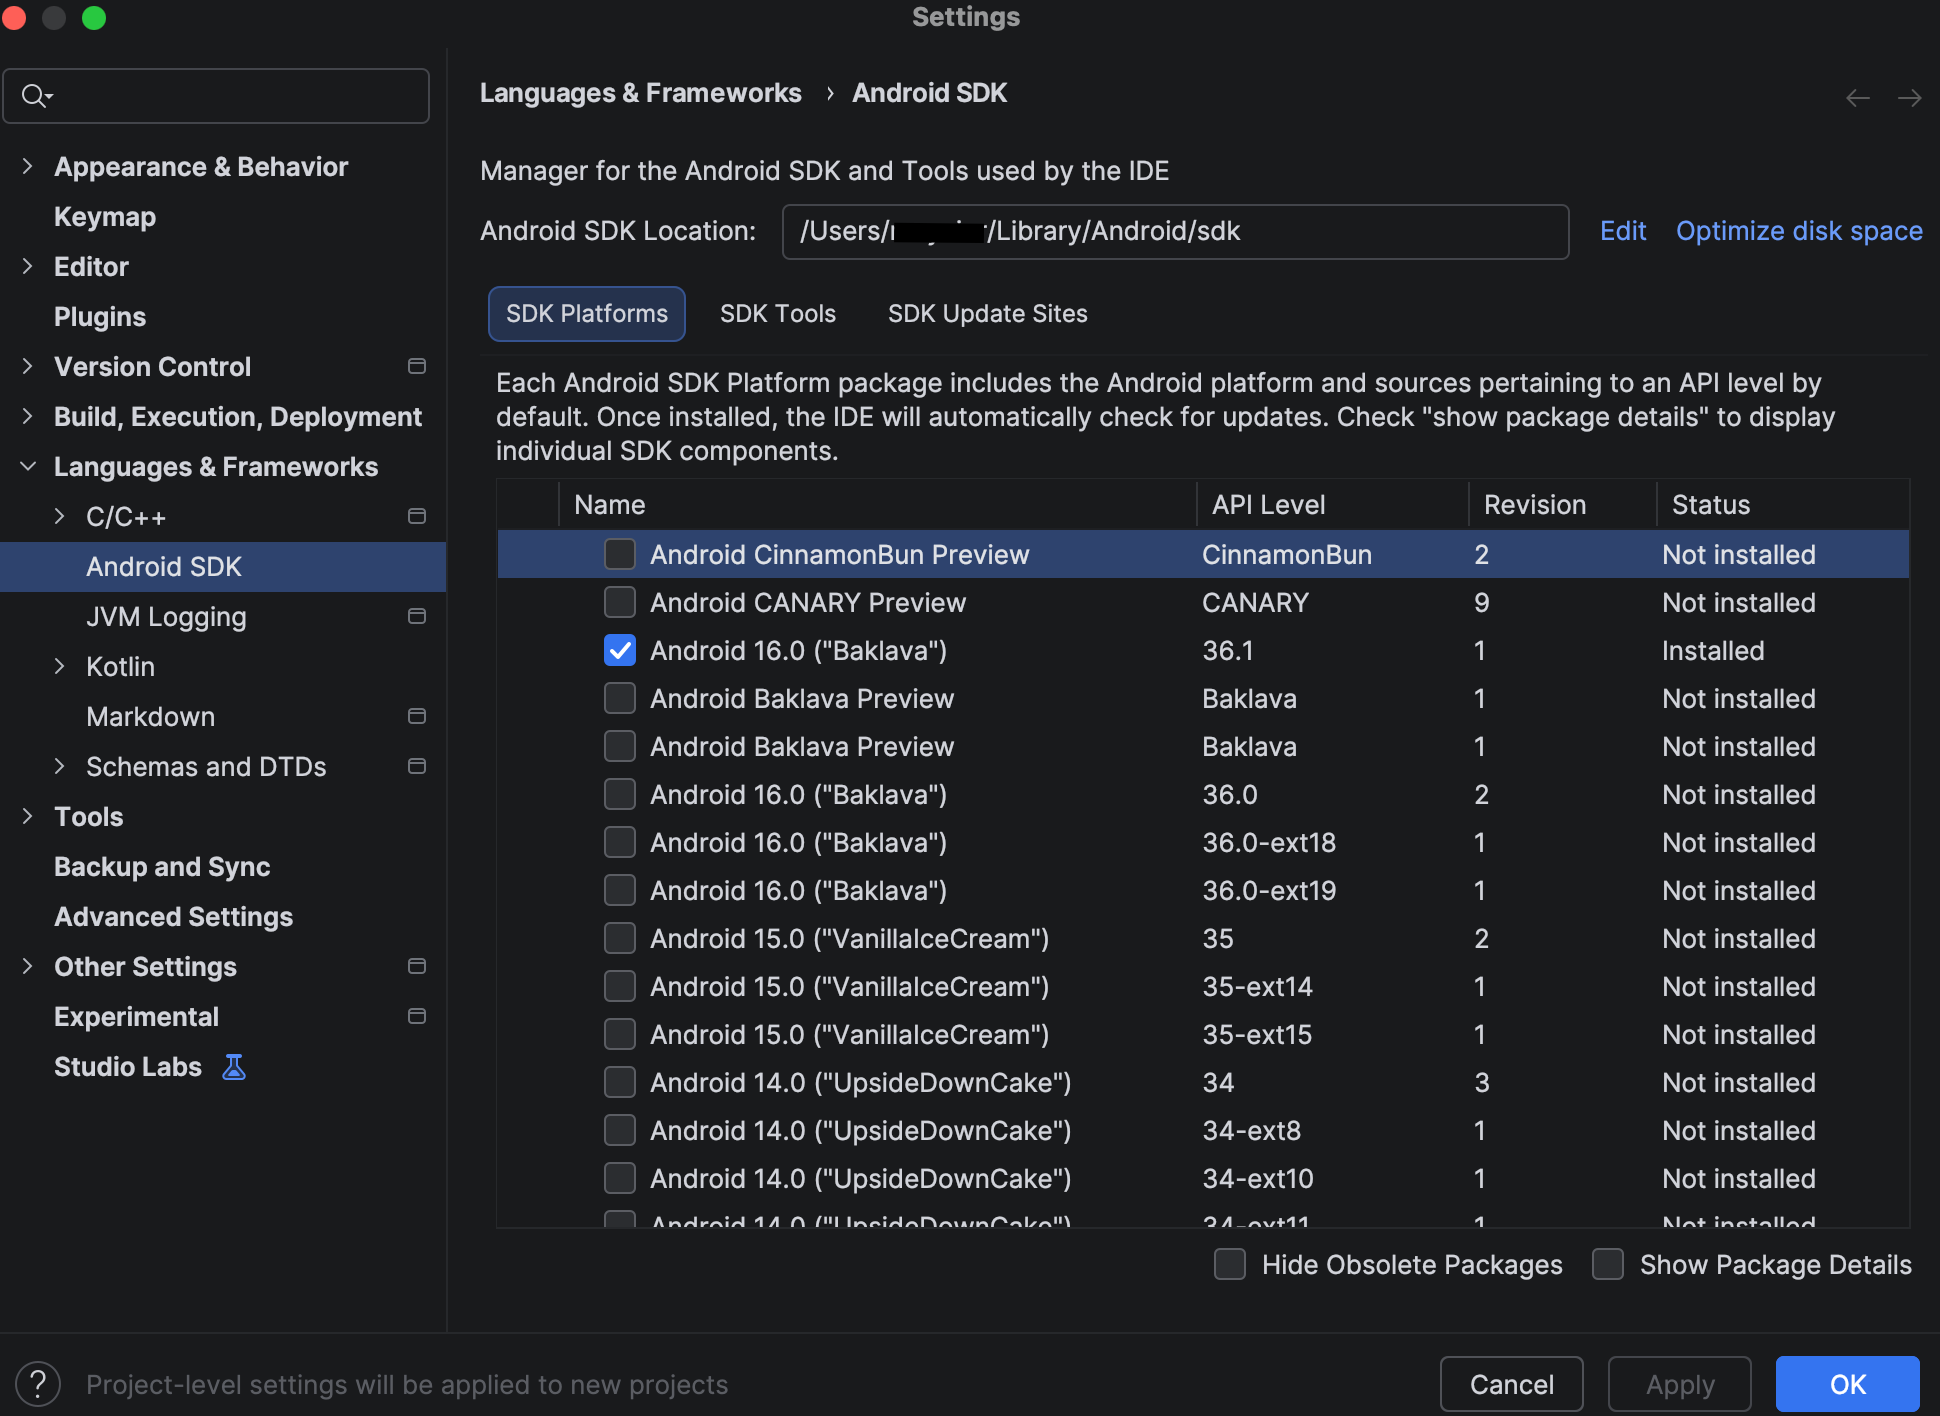
- Open Android Studio and navigate to: Android Studio → Settings → Languages & Frameworks → Android SDK
- Check SDK Platforms: In the SDK Platforms tab, ensure that at least one Android platform is installed. This provides the API levels needed to run your tests.
- Check SDK Tools: Switch to the SDK Tools tab and verify that the following components are installed:
- Android SDK Build-Tools – Required to build and run tests.
- Android SDK Command-line Tools – Needed for Appium to access SDK commands.
- Android Emulator – Needed to run virtual devices for testing.
- Android SDK Platform-Tools – Includes essential tools like ADB.
- Android SDK Tools (Obsolete) – Appium still checks for some legacy tools, so make sure this option is checked.
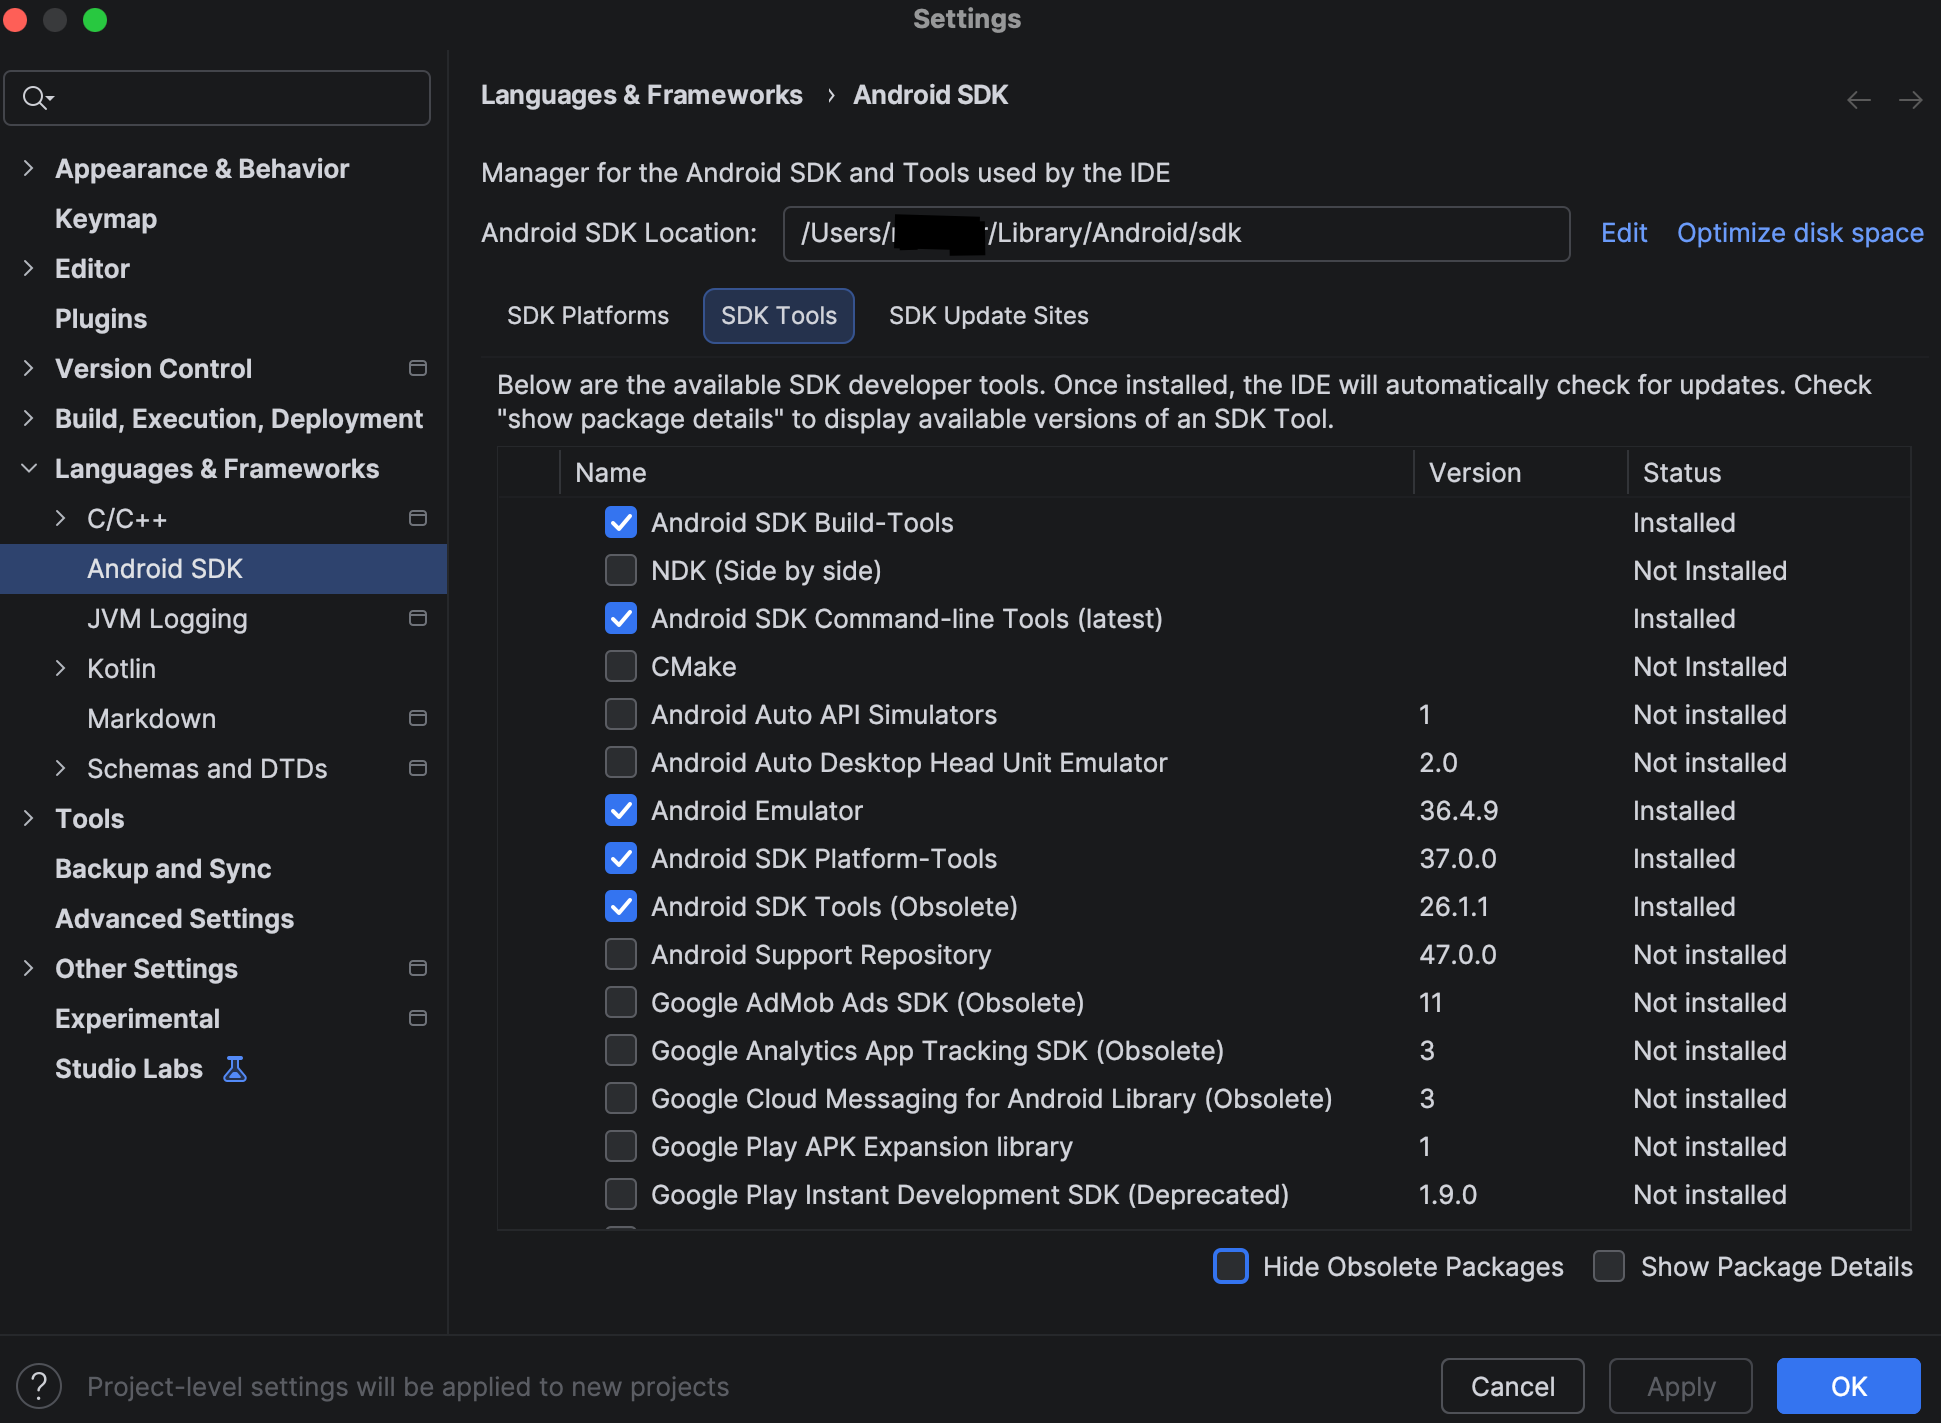
✅ Tip: Installing all these components ensures that Appium can communicate with both emulators and real devices without errors.
Set Up ANDROID_HOME and Android SDK Path
To allow Appium to locate your Android SDK, you need to configure the ANDROID_HOME environment variable.
- Locate your Android SDK path: By default, on Mac, the SDK is installed at: ~/Library/Android/sdk
- Set ANDROID_HOME in your shell configuration: Add the following lines to your ~/.zprofile
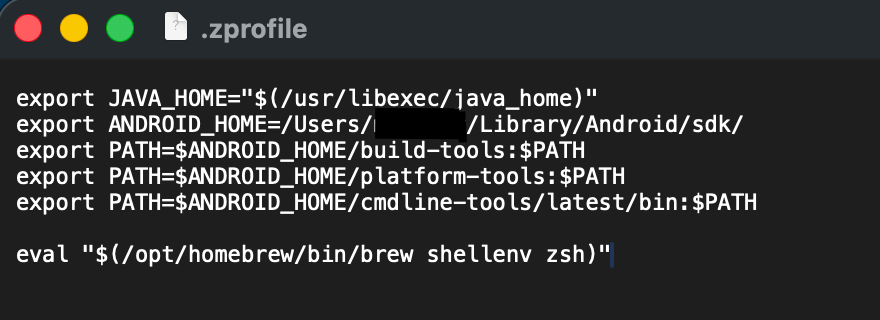
- Reload your terminal configuration: source ~/.zprofile
- Verify the setup: You should see your SDK path and the ADB version.
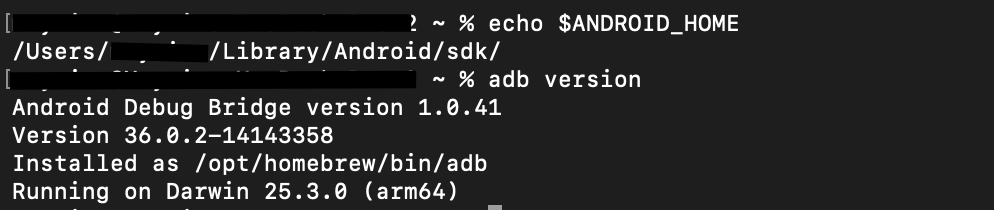
✅ Tip: Configuring ANDROID_HOME correctly ensures Appium can find the SDK, communicate with emulators and real devices, and run Android tests without errors.
Install the UiAutomator2 Driver
With Appium already installed on your Mac, the next step is to install the UiAutomator2 driver. This driver allows Appium to automate Android devices and emulators.
- Install the driver: Run the following command in your terminal:
appium driver install uiautomator2
✅ Tip: The command downloads the latest version of UiAutomator2 compatible with Appium 3.x.
- Update the driver (optional): To make sure you have the latest version in the future, you can update the driver with:
appium driver update uiautomator2
- Uninstall the driver (if needed): If you ever need to remove the driver:
appium driver uninstall uiautomator2
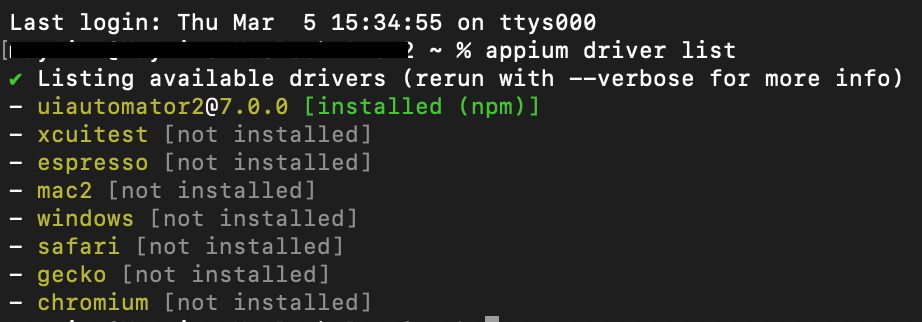
- Verify installed drivers: To see a list of all installed Appium drivers:
appium driver list
This should show uiautomator2 as installed and ready to use.
Verify the Android Setup Using Appium Doctor
As a final step, you can use Appium Doctor to ensure that your Android environment is correctly configured. Run the following command in your terminal:
appium doctor --android
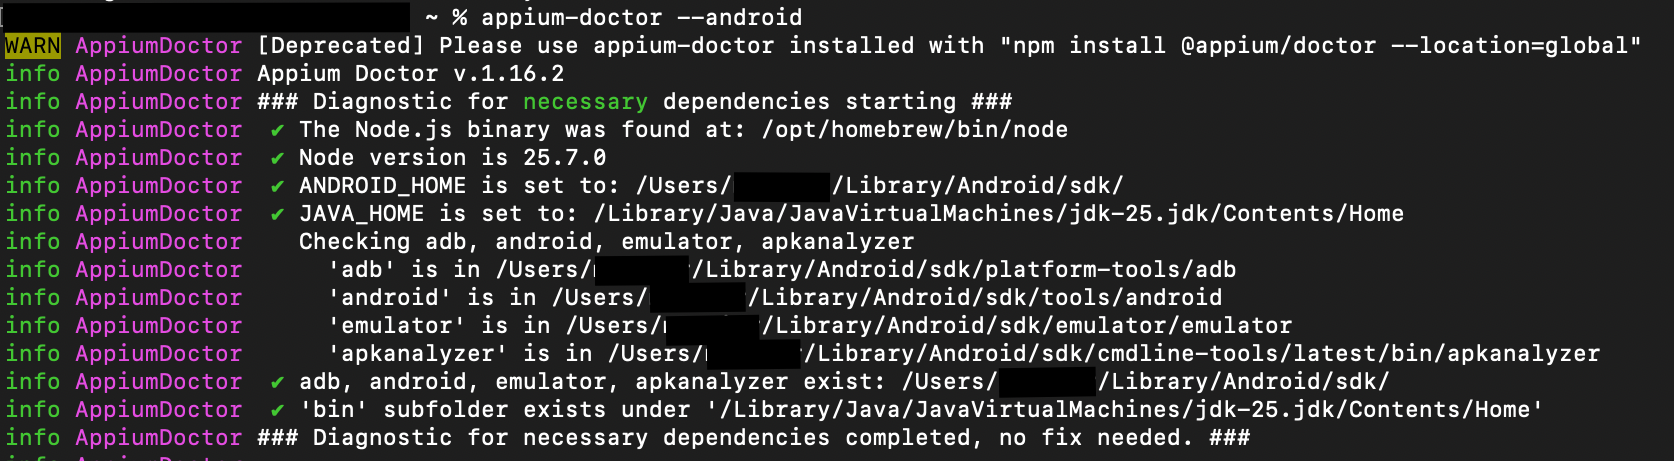
✅ Note: For now, focus only on the required dependencies. Make sure there are no errors reported.
Optional dependencies can be configured later once the basic setup is working.


Discussion